Featured in this article: Caring for Holiday Cacti
Featured in this article: Caring for Holiday Cacti


Winter traditionally means the end of your garden, but these are some plants that you can grow to bring color and life to the cold months.
Heather
This plant blooms all year and offers beautiful flowers in summer and fall. In winter the thick foliage makes an appealing contrast to the more delicate blooms of other winter plants.
Corkscrew Hazel
What make these such an attractive winter plant are the winding and twisted branches that add a pleasantly eerie touch to a winter landscape. The branches will require regular trimming to maintain their appealing look, failing in which they will look like an overgrown unkempt tangle of wood.
Holly
Holly has always been associated with winter. With 400 varieties to choose from that range from small bushes to huge trees of up to 80 feet, there is a type of holly for every garden and winter landscape. Its bright berries and thick foliage ensure that this is one plant that always catches the eye.
Winterberry
Winterberry is a cousin of holly but loses its leaves in the fall so in the winter you get bright red berries. These berries are also great for attracting birds. The seeds must be planted in the fall in a cold frame and should be transplanted to rich moist soil in the spring. This is a slow growing plant and germination can take 2 to 3 years.
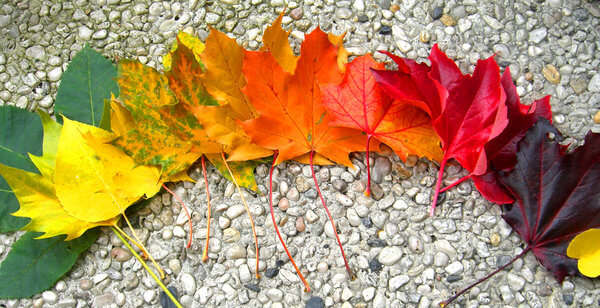
Paperbark Maple
Paperbark Maple’s curls of copper colored bark peel off from all over and make a pleasing sight. The green leaves of summer turn into an eye catching cinnamon shade in the fall.
Camellia
This evergreen blooms from fall to early spring and its brightly colored rose like flowers offer a striking contrast to a dull winter landscape. The best place to plant them is in a place that gets some sun, but not too much of it and which is protected from strong winds.
Red Twig Dogwood
The plant’s striking red stems are not just attractive on their own, they make a great accent when combined with evergreens. The brightness of the plants color depends on the amount of sun it receives.
Firethorn
Firethorn is a hardy perennial that is an attractive sight all year round. The small pea like berries, which can be either orange or yellow in color, remain long after fall is over.
The Paper Birch Tree
The Paper Birch tree has stunning yellow leaves in autumn and when the weather turns really cold, its white bark offer a striking contrast to a backdrop of evergreens. It is often used as the focal point of Christmas displays.
Hellebore
Another winter plant that is available in a wide range of varieties is Hellebore. They come in a wide range of colors mean that you will be able to find one that compliments the rest of your winter garden.
Featured in this article: Chrysanthemums

With Christmas just a few weeks away it’s time to start thinking about holiday lighting. Whether you intend to have a house that can be seen from space, or are planning a more modest display, the holiday lighting trends for 2014 are sure to have something for everyone.
#1 Bigger is Better
Giant ornaments have been a staple at large, corporate displays and now they are becoming more popular for residential homes. This trend is great for a whimsical ‘toy shop’ look. The prices on these decorations range from the very cheap to the very expensive. These displays are simple to set up and usually don’t require a ton of electricity be used. So if you are the type who wants to be festive, but doesn’t want to spend hours stringing up lights or if you are someone who can’t bare the dreaded take- down in January, these displays might be a good fit for you.
#2 Interactive Displays
Amazing technology is available that allows people to tell holiday décor what to do. It can be great fun and enable people to immerse themselves in the magic of the season . Interactive elements may be found on a Santa set, an illuminated Christmas tree or a holiday light show. Personal messages and lights that interact with music or crowds is a great way for the tech -minded individual to show off their Christmas spirit.
#3 LED lighting
LED lights are energy savers and, every year, more and more people are making the switch. There are so many different styles and colors to choose from, this is probably your best bet for those who want to express their creativity without breaking the bank.
Putting Your Vegetable Garden to Bed
You can postpone the inevitable (that is, winter) for a while by covering your vegetables with old sheets or bedspreads on cold nights, but the declining light and chilly daytime temperatures will naturally bring plant growth to a halt. See how to predict a frost.
• Leave carrots, garlic, horseradish, leeks, parsnips, radishes, and turnips in the garden for harvesting through early winter. Mark the rows with tall stakes so that you can find them in snow, and cover them with a heavy layer of mulch to keep the ground from thawing.
• Pull up tomato, squash, pea, and bean plants. If they’re disease-free, compost them. If any are diseased, either burn them or discard separately. Pull up and put away the stakes.
• Before the ground gets too hard, remove all weeds and debris and eliminate overwintering sites for insects and disease.
• Gently till the soil to expose any insects who plan to overwinter; this will reduce pest troubles in the spring and your garden site will be ready come spring!
• Once most of the garden soil is exposed, add a layer of compost, leaves, manure (if you have it), and lime (if you need it). Gently till into the soil.
• Another option is to sow cover crops such as winter rye to improve your soil and reduce weeks. See our Related Article above on Cover Crops for the U.S. and for Canada.
• If some areas have hopelessly gone to weeds, cover them with black plastic and leave it in place over the winter and into the spring to kill sprouting seeds.
What to Do With Herbs
• Sage is a perennial in most areas and does not need special treatment for the winter. Before frost stops its growth, cut a branch or two to dry and use in stuffing at Thanksgiving!
• Rosemary is a tender evergreen perennial that should be sheltered outside (Zone 6) or potted up and brought inside (Zone 5 and colder) for the winter.
• Thyme is fairly indestructible. A perennial, it will go dormant in the fall, then revive by itself in the spring.
• Parsley, a biennial, will withstand a light frost. In Zone 5 or colder, cover it on cold nights. It has a long taproot and does not transplant well.
• Chives are hardy perennials. Dig up a clump and pot it, then let the foliage die down and freeze for several weeks. Bring the pot indoors to a sunny, cool spot. Water well and harvest chives throughout the winter.
Putting the Berry Patch to Bed
• In early to midfall, prune summer-bearing raspberries, leaving six of the strongest brown canes for every 1 foot of your row.
• Prune fall-bearing raspberries ruthlessly, moving them to the ground after they have borne fruit. New canes will come up in the spring.
• Plant blackberries in the fall and mound up the soil around the canes to prevent hard frosts from heaving them out of the ground.
• Cover strawberry beds with straw or hay.
Perennials and Flowers
• Water your perennials and flowering shrubs in the fall; they will thank you for it this winter.
• Once the ground has frozen hard, cut perennials back to 3 inches and mulch them with a thick layer of leaves or straw.
• If you plan to put in a new flower bed next spring, cover that area now with mulch or heavy plastic to discourage emergent growth when the ground warms up in the spring.
• Before a heavy snowfall, cover pachysandra with a mulch of pine needles several inches deep.
• Move potted chrysanthemums to a sheltered spot when their flowers fade. Water well and cover with a thick layer of straw to overwinter them.
• When a frost blackens the leaves of dahlias, gladioli, and cannas, carefully dig them up and let them dry indoors on newspaper for a few days. Then pack in Styrofoam peanuts, dry peat moss, or shredded newspaper and store in a dark, humid spot at 40° to 50°F until spring.
Overwintering Geraniums
• Geraniums (pelargoniums) are South African in origin, and there they have a three-month dormant period during winter’s excessive dryness. They need to be kept well watered before going into dormancy.
• In the old days, we had cool cellars with dirt floors that were dark and moist. Our mothers shook the dirt off geranium roots and hung them upside down in bundles. In spring, they were cut back and potted up, and performed nicely.
• If you have a cool place in your house (around 50 degrees Fahrenheit), it is possible to overwinter your geraniums by keeping them in their pots and giving them very little water.
• In spring, bring them into a warm place and water them heavily. When they start to show buds, repot them and prune heavily.
• They will do best in plastic or glazed pots with very good drainage. (You can overwinter geraniums as houseplants without letting them go dormant, but they will be deprived of the rest they like.)
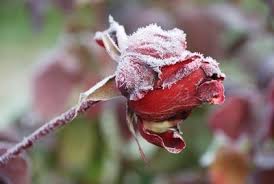
Putting Rose Shrubs to Bed
• You may water roses regularly through the fall; no need to fertilize starting 6 weeks before the first frost.
• Remove any dead or diseased cane.
• After the first frost, mulch plants with compost or leaves to just above the swollen point where the stem joins the rootstock.
• In areas where winter temperatures are severe, enclose low-growing roses with a sturdy cylinder of chicken wire or mesh and fill enclosure with chopped leaves, compost, mulch, dry wood chips, or pine needles.
• Before daily temperatures drop well below freezing, carefully pull down the long canes of climbing and tea roses, lay them flat on the ground, and cover them with pine branches or mulch.
Preparing Trees
• Protect small trees or shrubs from extreme cold by surrounding it with a cylinder of snow fencing and packing straw or shredded leaves inside the cylinder.
• Inspect your trees. Remove any broken limbs, making a clean cut close to the trunk.
• If you’re planning to buy a live Christmas tree this season, dig the hole where you’ll plant it before the ground freezes. Store the soil you remove in the garage or basement, where it won’t freeze. Place a board over the hole and mark the location so that you can find it if it snows.
Garden Odds and Ends
• Empty all your outdoor containers to keep them from cracking during the winter. Store them upside down.
• Hang a bucket over a hook in your toolshed or garage and use it to store hose nozzles and sprinkler attachments.
• On a mild day, run your garden hose up over a railing or over the shed to remove all the water. Then roll it up and put it away.
• Mow your lawn as late into the fall as the grass grows. Grass left too long when deep snow arrives can develop brown patches in the spring.
• Don’t leave fall leaves on the lawn. Rake onto a large sheet or tarp, then drag to your compost pile in thin layers mixed with old hay and other material. Or, rake the leaves into loose piles and run the mower over them to turn them into mulch for perennial and bulb beds.
• Cover your compost pile with plastic or a thick layer of straw before snow falls.
• Drain the fuel tank on your lawn mower or any other power equipment. Consult the owner’s manual for other winter maintenance.
• Scrub down and put away your tools. Some folks oil their tools with vegetable oil to avoid rust
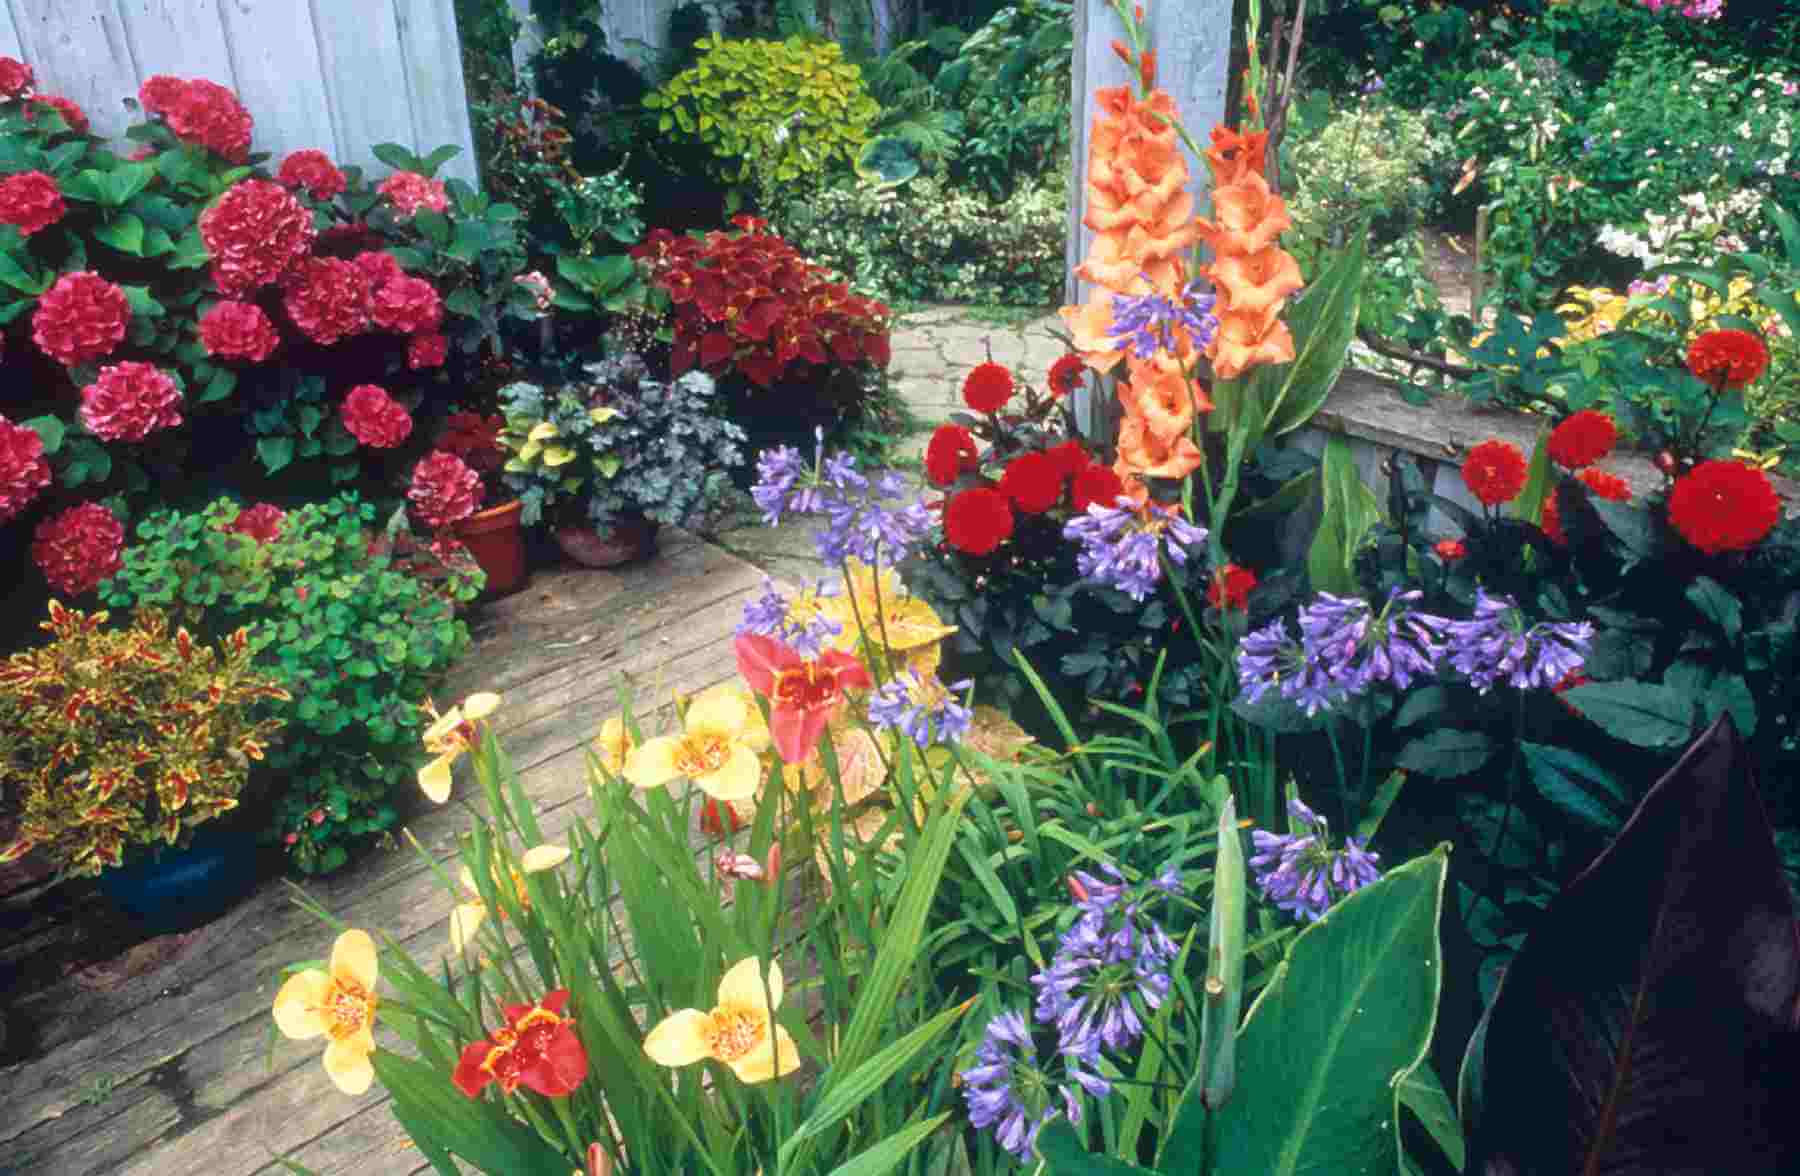
Growing plants in containers can be the perfect solution for gardeners with limited space, and on Long Island, where we can have HOT summers, but super cold winters, it can even allow you to enjoy the beauty of tropical plants year round.
Type of container
Most nurseries offer a huge selection of terracotta, ceramic and plastic pots, but container gardening also offers the perfect opportunity to recycle something from the garage or basement. Watering cans, spatterware bowls, buckets, kitchen canisters, vintage cowboy boots, tires and even an old footed bathtub can all be used as planters.
You’ll want to consider how much weather the pot can handle; an old can that is prone to rust wouldn’t be appropriate in a rainy climate, for instance. Also, consider the size of plantings you’ll be adding; If you are going to grow vegetables, for example, the pot will need to be large enough to hold plenty of water and allow roots to develop.
“Beware of decorative planters that lack drainage holes,” says John Pohly, Colorado State University Extension Horticulturist. “This creates water-logged soil and rotting roots. Research shows that the old practice of placing a layer of gravel in the bottom of the container, to give some room for water to accumulate without saturating the soil, doesn’t really work. If you want to use a decorative planter that doesn’t have a drain hole, put your plants in a regular flower pot and place that inside the decorative container.”
Depending on what material the container is made of, you may also be able to drill or punch holes in the bottom of it. You can also recycle a used plastic milk jug or soda bottle as a pot liner; just punch drainage holes in the bottom with a nail.
Growing medium
You can buy special organic container mix at many garden centers, or you can make your own by amending dirt from your garden for container gardening; simply mix together one part garden soil, one part compost and one part sand. You may also want to add some peat moss, which will help the mixture hold water. To improve drainage you can also add organic perlite, which lightens the soil mixture and has a neutral pH.
What to plant
People grow nearly every plant under the sun in containers. Most annual flowers are well suited for organic container gardening, and their long blooming season makes them ideal candidates for pots.
You can also successfully grow many vegetables in containers; just remember that most will grow best with about six hours of sunlight a day so you’ll need to place them in a fairly sunny location. Look for special dwarf varieties of tomatoes developed just for patios, and compact cherry tomatoes and peppers are also good choices for container gardens.
Lettuce, greens, spinach, herbs, onions and carrots all grow well in pots. If you provide a trellis or vertical support, you can also grow trailing vegetables like beans, peas and cucumbers.
More tips for success
PLANTING: Just before planting, wet the soil mix well; you can do this in a bucket or wheelbarrow, or you can even add water to the bag if you’re using a premixed organic potting soil. Arrange the plants in the pot, add the soil around them, and gently pat it down around the plants. Don’t fill the soil too close to the top of the pot; you want to be able to soak the plants well without water overflowing.
WATERING: Most container plantings tend to dry out quickly and will need very regular watering; during hot spells they may even need to be watered twice a day. Hanging baskets are especially prone to evaporation and should be watered until the water runs out of the bottom of the pot; wait until the soil is barely dry to water again.
During extreme heat or a weekend away you can temporarily put the pots in a tray with standing water, but don’t leave them longer than a day or two or the roots may rot.
FERTILIZING: Flowers and vegetables grown in containers will benefit from regular feeding throughout the growing season. With their promises of giant crops and big blooms, it may be tempting to use nonorganic bagged potting soil mixes and commercial fertilizers, but it’s just as easy to utilize organic growing techniques with container gardening and reap the benefits of pesticide- and chemical-free vegetables and naturally grown flowers and plants.
There are many organic fertilizers available that can safely be used on container plantings; many are fish- or compost-based. Worm castings are also an excellent organic fertilizer for container plants and they are good for indoor houseplants as well, since the mixture is relatively odor-free.
MAINTENANCE: Deadheading will keep flowers looking fresh, and removing dead leaves will help control bugs. One of the best aspects of container gardening is its forgiving nature; if a plant isn’t thriving or starts to wither, you can use a garden spade to carefully remove it and simply plant something else in its place.
Featured in this article: Seed Saving!
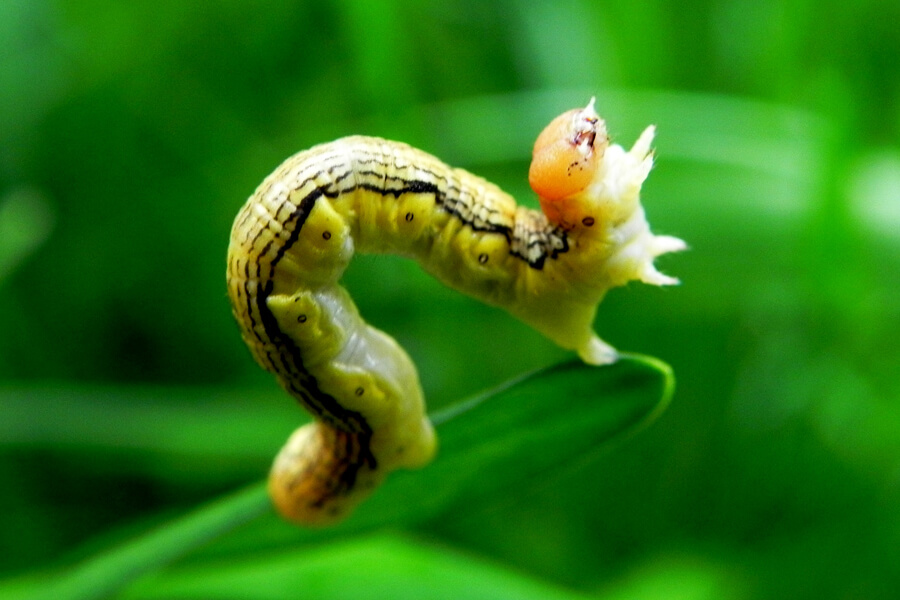
Every summer, they arrive. Little green worms, dropping from threads and spinning in the breeze. While one or two of these little insects can seem cute, when they multiply, they can cause real damage to our trees and shrubs.
Inchworms go by many different names, including cankerworms, spanworms, loopers, and measuring worms. Generally reaching one inch in length, they can be any color from white to green or black and are smooth and hairless. To find out if your have inch worms, you can lightly shake plants to check for worms and larvae, or you can carefully examine branches for signs of infection. Infected plants will have noticeable tiny and irregularly shaped holes between the veins.
Having a few inch worms is not destructive to the natural habitat since many trees and plant life can survive minimal inchworm feeding. However, when the number of inchworms grows and you have an Inchworm infestation they can become a destructive pest, often damaging vegetable crops and ornamental trees, shrubs and flowers. The inchworm can be particularly destructive once an infestation is present because female moths lay their eggs in both fall and spring cycles.
What do they eat?
The type of foliage the inchworm feeds upon will depend on its species. Some prefer trees and shrubs. These inchworms cause damage on apple trees, oaks, and sweet gums. Other species of inchworm prefer vegetable gardens, and will feast upon almost any vegetable you plant, including tomatoes, celery, beans, potatoes, cabbage, and radishes.
Prevention& treatment
The best type of prevention of an inchworm infestation is making sure your lawn or garden is hospital to the inchworm’s natural predators. Ground beetles, birds, Trichogramma wasps, yellow jackets, and paper wasps all prey upon the inchworm. So feeding songbirds, and installing birdhouses is a great way to get ahead of the problem.
However, if the infestation is large enough to present significant damage, you may opt to hire a professional to take care of the problem. A professional extermination company may use any number of treatment options. Horticultural oils can be applied to trees, and Bacillus thuringiensis for vegetable gardens; oils will smother the worms, while Bacillus thuringiensis will cause the body of the worms to rot, while being harmless to humans. These methods may not work once the inchworm is larger than 1/2 inch, however, and inthat case, chemical insecticides may be needed to control the infestation.
Featured in this article: Climate Change Considerations